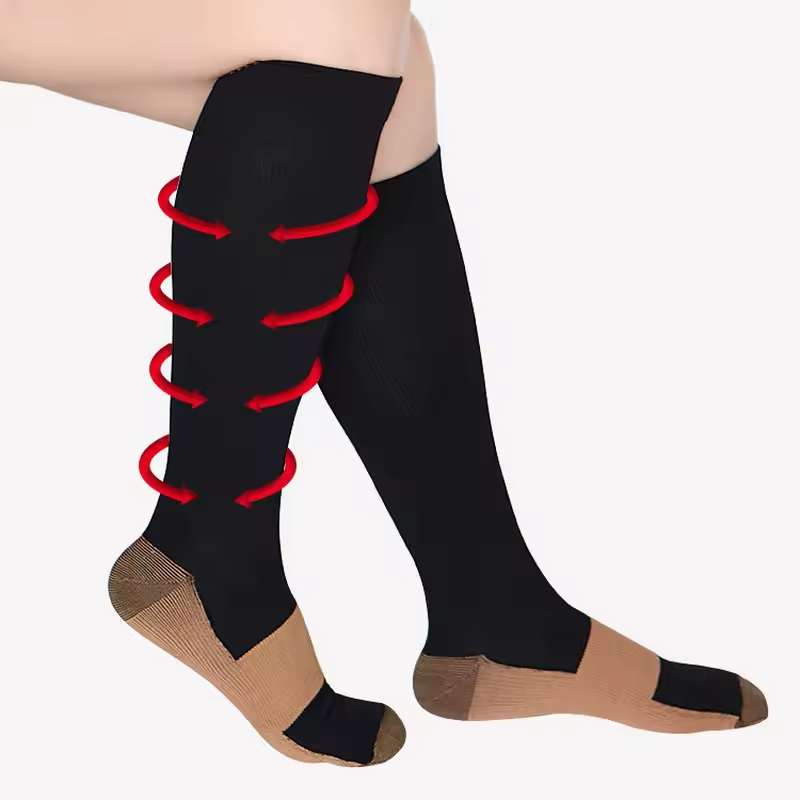
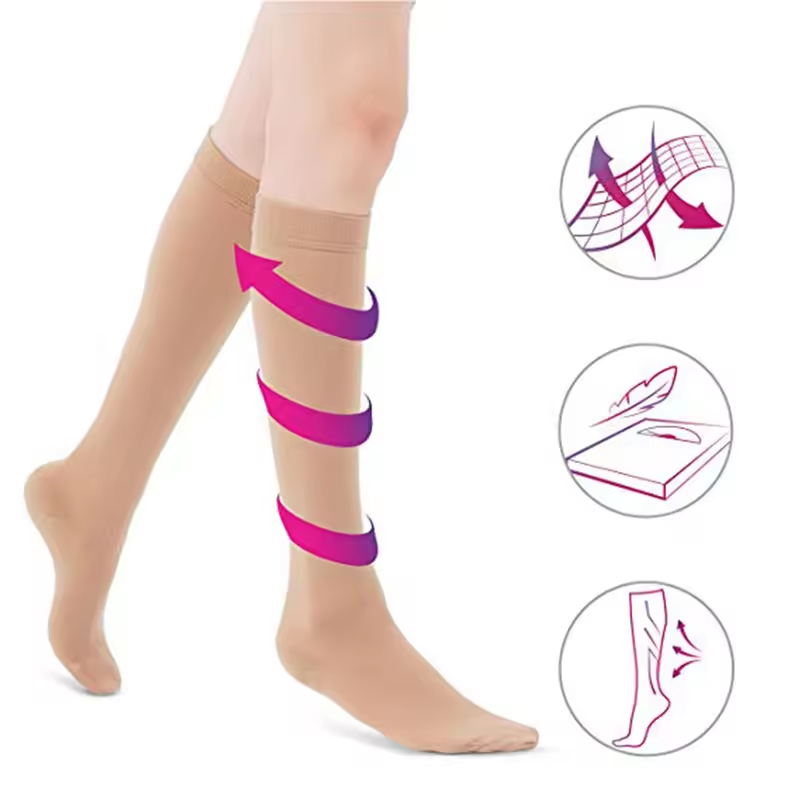
When it comes to personalizing your wardrobe, stockings offer a fantastic canvas for creativity. They are not just a functional item of clothing, but also an accessory that can enhance your overall look. Customizing your own stockings allows you to add a personal touch, reflecting your style and taste in a way that store-bought options cannot match. Whether you’re looking to make a bold statement or add subtle elegance, this guide will take you through the process of designing and customizing your own customized stockings for a unique fashion statement.
Understanding the Basics of Stockings and Their Materials
Different Types of Stockings: Choosing the Right One for Customization
Before diving into the design process, it’s essential to understand the different types of stockings available on the market. The choice of material and design style will influence how you can customize your stockings. Here are some popular options:
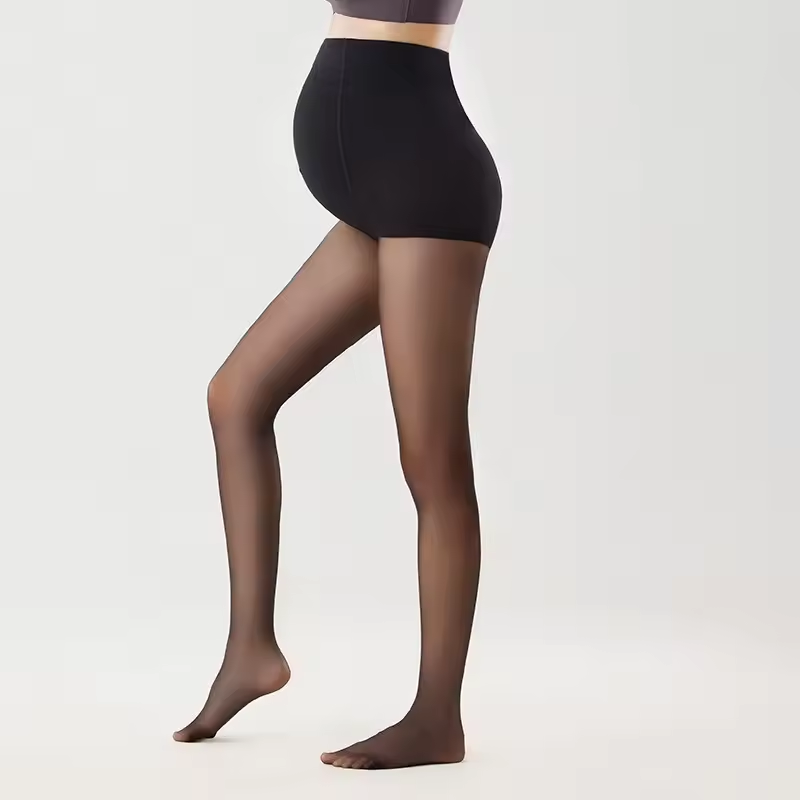
- Sheer Stockings: These are lightweight and transparent, often made from nylon or silk. They provide a delicate look and can be decorated with intricate patterns or colors.
- Opaque Stockings: Made from thicker materials like cotton or wool, opaque stockings are perfect for colder weather. They offer more space for customization, such as embroidery or patchwork.
- Fishnet Stockings: Known for their open-weave design, fishnet stockings are ideal for adding edgy details, such as studs, beads, or even fabric paint.
- Knee-Highs and Thigh-Highs: These styles come in various materials and offer different lengths, from knee-length to thigh-high. They can be adorned with lace trim, velvet appliqué, or even hand-painted designs.
Understanding the type of stocking you’re working with will help you determine which materials and techniques are best suited for customization. For example, delicate sheer stockings may not hold up well to heavy embellishments, while opaque stockings can support bolder designs and heavier materials.
Key Materials for Customizing Stockings
Once you’ve chosen your stockings, it’s time to consider the materials you’ll use to customize them. Here are some common options:
- Fabric Paints: Ideal for adding patterns, illustrations, or even custom text. Fabric paints are available in various colors and finishes, from matte to metallic.
- Embroidery Thread: Perfect for creating intricate patterns or motifs. Embroidery allows you to add texture and depth to your stockings, giving them a handmade touch.
- Lace, Ribbons, and Appliqué: Adding lace trim, satin ribbons, or appliqué designs can transform a simple pair of stockings into a high-fashion statement piece.
- Studs, Sequins, and Beads: For a glamorous or punk-inspired look, add studs, sequins, or beads to your stockings. These embellishments can be applied using fabric glue or sewn in place.
By choosing the right materials, you can enhance the overall aesthetic of your stockings and create a unique piece that complements your style.

Step-by-Step Guide to Designing and Customizing Stockings
Step 1: Plan Your Design Concept
Before starting the customization process, take the time to plan your design. Think about the overall aesthetic you want to achieve and consider how your custom stockings will fit into your existing wardrobe. Here are some questions to guide your design process:
- What theme do you want to follow? Whether it’s a vintage-inspired look, a modern geometric pattern, or something whimsical, decide on a theme that resonates with you.
- What colors do you want to use? Choose colors that complement your clothing and reflect your personal style. Consider using a color palette that matches your existing wardrobe for a cohesive look.
- Do you want to create a bold or subtle design? Depending on your preference, your design could be something eye-catching, like a pop of neon colors, or something more subtle, like delicate lace accents or small embroidery motifs.
Take some time to sketch your design or jot down ideas. Planning ahead ensures that you’ll have a clear vision for your customized stockings and makes the crafting process smoother.
Step 2: Gather Your Materials and Tools
Now that you have a plan in place, gather all the necessary materials and tools for your customization project. Here’s what you’ll likely need:
- Stockings: Of course, you’ll need a base pair of stockings to customize. Make sure they fit well and are made of a material suitable for the techniques you’ve chosen.
- Fabric Paints or Markers: If you’re planning to use fabric paints or markers for your design, choose colors that are long-lasting and won’t fade after washing. Fabric markers are especially useful for fine details.
- Needle and Thread: If you’re using embroidery thread or need to sew embellishments, gather needles and matching thread in a variety of colors.
- Fabric Glue: This is an essential tool if you’re attaching embellishments like sequins, beads, or lace without sewing them in place.
- Scissors and Measuring Tape: If you’re adding ribbons, lace, or fabric appliqué, you’ll need scissors to cut the material to the right length, as well as a measuring tape to ensure even placement.
Having everything ready before you start will make the customization process go smoothly and ensure you’re not scrambling to find a necessary item midway.
Step 3: Create Your Design on Paper or Template
Once you’ve gathered your materials, it’s helpful to create a paper template or a design mock-up. This will give you a visual reference as you work on your stockings and help ensure that your design is symmetrical and balanced. You can do this by sketching your design on paper, drawing out the placement of each element on the stockings, or even printing a template if you’re creating a more complex design.
Step 4: Apply Your Customizations
Depending on the materials and techniques you’re using, here’s how to apply your customizations:
- Painting and Stenciling: If you’re using fabric paint, start by lightly sketching your design with a fabric pencil. Then, carefully paint the design onto the stockings using brushes or fabric markers. If you’re unsure about freehand painting, consider using stencils to create precise shapes and patterns.
- Embroidery: Start by threading your needle with embroidery floss and creating your design by hand. You can add flowers, geometric patterns, or even lettering for a personalized touch. Be sure to work in small, neat stitches to avoid over-stretching the fabric.
- Attaching Embellishments: If you’re adding beads, sequins, or other embellishments, lay them out where you want them before attaching them. Use fabric glue for non-sewing items, or sew them on for a more durable finish.
Work in stages, allowing each layer of customization to dry or settle before adding more details.
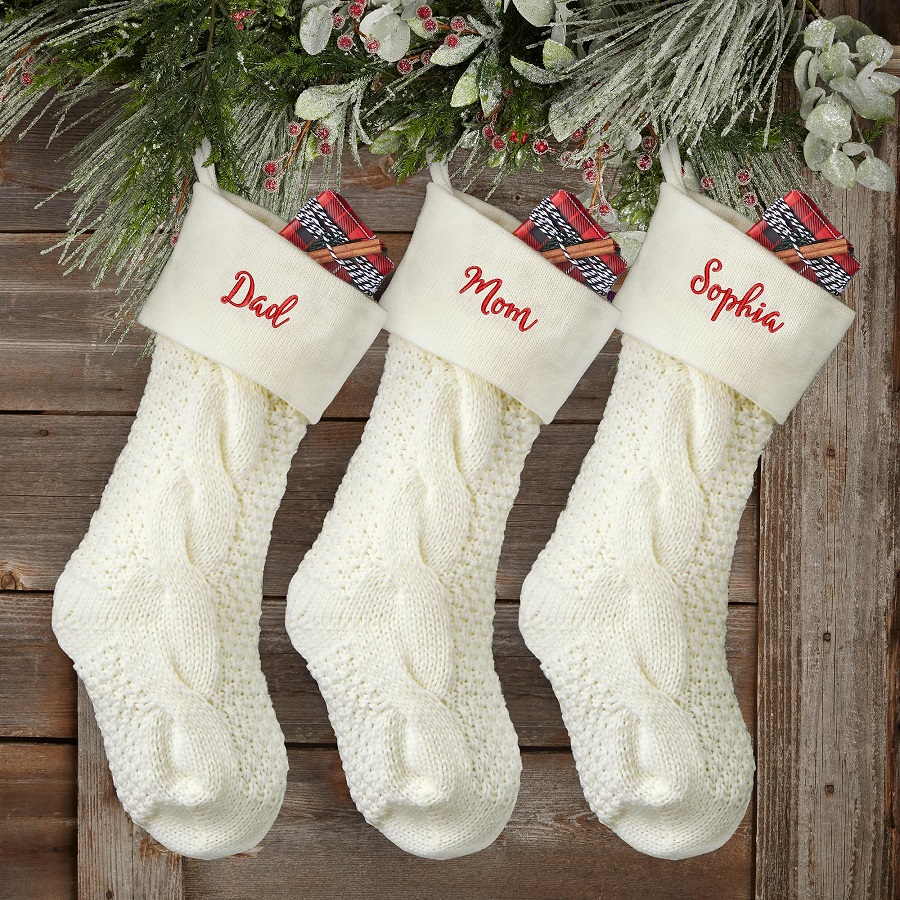
Step 5: Let Your Stockings Dry and Set
Once you’ve finished customizing your stockings, give them time to dry and set. This is especially important if you’ve used fabric paints or glue, as the items need time to adhere properly to the fabric and dry completely to avoid smudging.
Be sure to follow the instructions for your specific materials. Some fabric paints require heat-setting with an iron, while others may need to air dry for a certain amount of time.
Tips for Maintaining Your Customized Stockings
Wash and Care Instructions
To preserve your customizations and ensure that your stockings remain in good condition, follow the proper care instructions:
- Hand Wash: Whenever possible, hand wash your stockings using cold water to prevent the paint or embellishments from fading or peeling.
- Avoid Harsh Detergents: Use a gentle detergent that won’t damage the fabric or your design.
- Air Dry: Avoid using a dryer, as heat can cause fabric paint to crack or embellishments to loosen. Air dry your customized stockings flat to maintain their shape and design.
By following these care instructions, your customized stockings will last longer and retain their vibrant look.
Store Your Custom Stockings Properly
When not in use, store your customized stockings in a cool, dry place away from direct sunlight. Avoid rolling or cramming them into tight spaces, as this can damage the design or cause the fabric to stretch.
Conclusion: Express Yourself with Customized Stockings
Customizing your own stockings is a creative and fun way to express your individuality and add a personal touch to your wardrobe. Whether you’re aiming for an elegant, vintage-inspired design or a bold, contemporary look, the customization process offers endless possibilities. From selecting the right materials to adding intricate details, each step gives you the opportunity to create a unique fashion piece that reflects your personal style. So, grab a pair of stockings and start designing today—you’ll be amazed at how simple touches can transform an ordinary item into an extraordinary fashion statement.

