Introduction to Handmade Christmas Stockings
Handmade Christmas stockings add a personal touch to holiday decor. Each stocking can reflect individual tastes and styles, making them unique. Whether you’re a skilled sewer or a beginner, creating custom Christmas stockings is an enjoyable project. By selecting specific fabrics and patterns, you can cater to every family member’s preferences. Additionally, adding personalized details turns each stocking into a cherished holiday keepsake.
Creating yourChristmas stockings offers several benefits. It’s a cost-effective alternative to store-bought stockings. This DIY approach also allows you to repurpose materials you may already have at home. Thus, it’s not only economically savvy but environmentally friendly as well.
This introduction will lead you through the fulfilling process of handcrafting your Christmas stockings. From planning your design and selecting the right materials to the final sewing and quilting, each step is a chance to pour love and creativity into a festive family tradition.
Planning Your Stocking Design
Creating the perfect Christmas stocking begins with a solid design plan. Here, personal taste and creativity shine.
Choosing Fabrics and Patterns
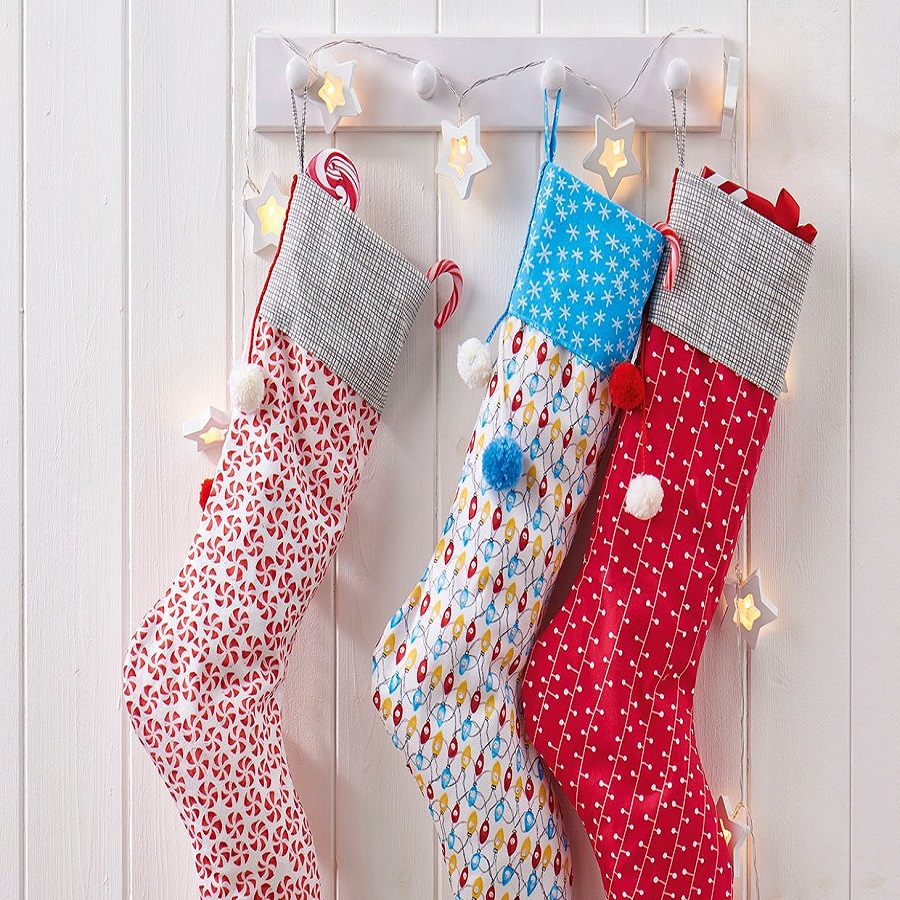
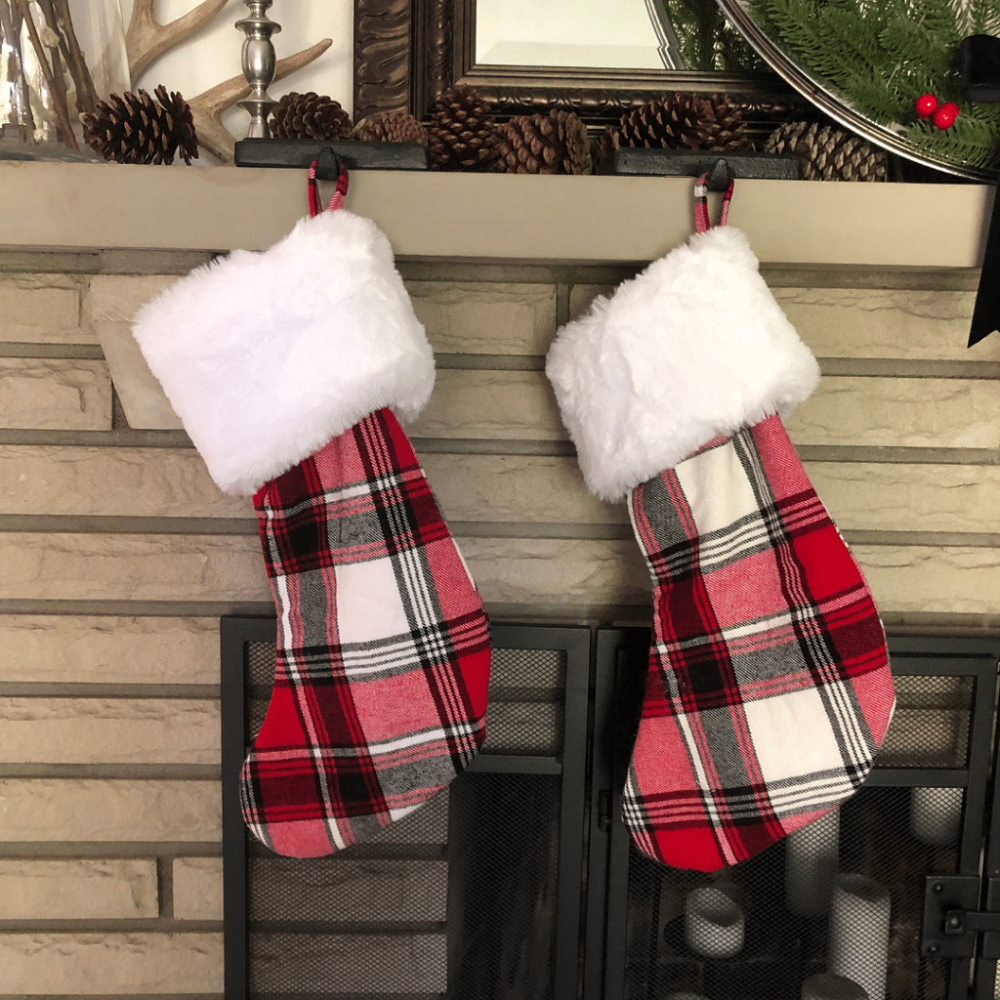
Deciding on fabrics and patterns is crucial. Look for colors and textures that reflect the holiday spirit. Consider plaid flannel for a traditional look, or cotton velveteen for a softer feel. Think about who the stocking is for when selecting patterns.
- Match the fabric to the person’s personality.
- Mix and match patterns for a unique touch.
- Consider using patchwork from leftover scraps for eco-friendliness.
Account for durability; stockings hold gifts, so choose sturdy fabrics. Also, play with colors! Bright hues add a modern twist, while muted tones offer a classic appeal.
Determining Stocking Size and Shape
The size and shape of your stocking impact its look and functionality. Typical stockings range from 15 to 20 inches in length, a size that allows for ample gift space without being overly bulky. Decide on a traditional curved toe or go for a more unconventional shape.
- Keep proportion in mind; the stocking should hang well.
- Consider space; larger stockings require more material and filling.
- Remember the hanging spot; ensure the stocking will fit.
By keeping comfort with scissors and measuring tapes at the ready, achieving the precise size and shape for your Christmas stocking is simple.
Gathering Materials and Tools
Before you start sewing your Christmas stockings, gathering the right materials and tools is crucial.
Essential Sewing Supplies
To make Christmas stockings, you need a few basic sewing supplies:
- A reliable sewing machine for stable stitching.
- A variety of threads to match your fabrics.
- Sharp scissors for clean cuts.
- Sewing pins to secure pieces before stitching.
- A seam ripper for any mistakes.
- Measuring tape for accurate dimensions.
Make sure to check your machine’s settings and have enough bobbin thread ready.
Selecting Fabrics
Choosing the right fabric will determine the look and feel of your stockings:
- Pick heavyweight fabrics for durability, such as canvas or upholstery fabric.
- For a softer touch, consider velvet or fleece.
- Use cotton for an easy-to-sew option that’s still sturdy.
- For eco-friendliness, repurpose old clothes or linens.
Remember, stretchy fabrics are harder to work with for this project.
Optional Decorations and Accents
Adding decorations can make your stockings stand out:
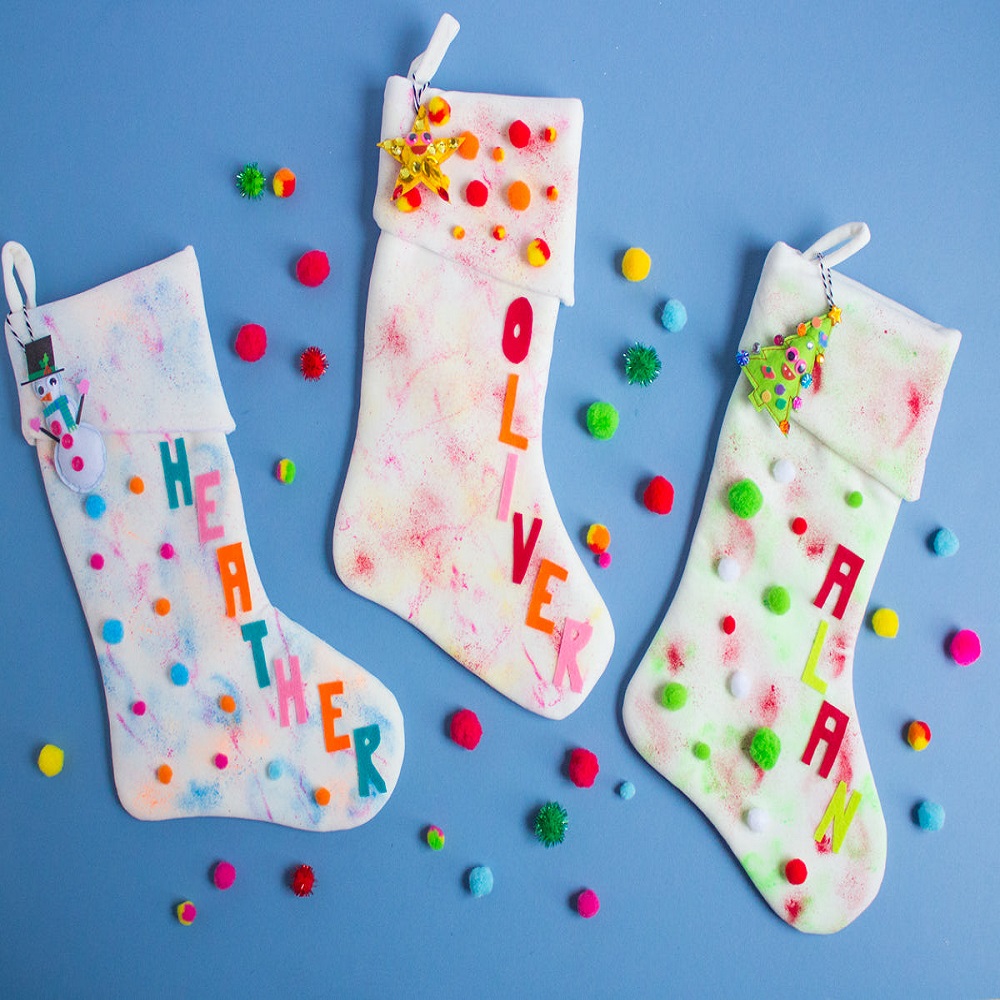
- Ribbons, pom-poms, or lace for embellishments.
- Fabric paint or iron-on decals for personalization.
- Jingle bells or beads for a festive jingle.
- Faux fur or piping for a luxurious edge.
Use a hot glue gun or needle and thread to attach these securely.
With your materials and tools prepared, you’ll be ready to create beautiful, personalized Christmas stockings for your holiday decor.
Cutting and Preparing Your Fabric
Before sewing Christmas stockings, it’s important to properly cut and prepare your fabric. This phase sets the foundation for your sewing project. Start by selecting a quality fabric that matches your holiday theme and is durable enough to hold stocking stuffers. Ensure you have washing the fabric to prevent future shrinkage.
Using a Stocking Template
A stocking template is crucial for ensuring consistency in size and shape across multiple stockings. First, you need to choose a stocking template that suits your desired design and size. You can find various templates online or create one yourself. Print out the template and use it as a guide to cut your fabric pieces accurately.
- Trace the template onto your fabric using tailor’s chalk or a fabric marker.
- Carefully cut out the shapes, keeping your scissors smooth and steady to avoid jagged edges.
Once you have your fabric pieces, verify that they align correctly and make any adjustments if needed.
Tips for Cutting Precise Pieces
Accurate cutting ensures that your Christmas stockings look neat and professional. Keep these tips in mind:
- Use sharp scissors or a rotary cutter for clean cuts.
- Always cut on a flat, stable surface.
- Take your time; rushing might lead to mistakes.
- If you’re using patterned fabric, be mindful of design placement.
- Double-check your measurements before you cut.
With these preparations complete, you’ll be ready to move on to the sewing phase, confident that your fabric pieces are well-prepared, ensuring a smoother sewing process.
Sewing Your Stockings
Embarking on the sewing journey for your Christmas stockings can be rewarding. Here’s a simple guide.
Step-by-Step Sewing Instructions
To start sewing your Christmas stockings, follow these steps:
- Lay two pieces of cut fabric together, with the right sides facing each other.
- Pin around the edges to hold them in place.
- Sew around the stocking, leaving the top edge open.
- Trim any excess fabric from the edges.
- Turn the stocking right side out, using a tool to point out the toe.
- Press with an iron to smooth any wrinkles.
Now you have the basic shape of your Christmas stocking.
Attaching the Cuff and Hanging Loop
The next steps involve adding a cuff and a loop for hanging:
- For the cuff, cut a strip of fabric about twice the width of the stocking opening.
- Fold it lengthwise with the right sides together and sew the shorter ends.
- Flip the cuff right-side out and fold it over, creating a finished edge at the top.
- Slide the cuff over the top of the stocking, with raw edges aligned, and sew.
- To make a hanging loop, cut a small strip of fabric or use ribbon.
- Fold and sew it into a loop.
- Secure the loop inside the stocking’s cuff seam.
With these additions, your stocking is almost ready to hang by the fireplace.
Quilting and Decorating Ideas
Adding quilting and decorations to your Christmas stockings can bring them to life and make them truly unique.
Quilting Techniques for Texture
For a textured feel, consider these easy quilting techniques:
- Stitch parallel lines for a simple, quilted look.
- Create patterns with zigzag stitches.
- Try free-motion quilting for a custom design.
Use a walking foot to help the layers feed evenly.
Adding Personalized Details
Make each stocking special with these ideas:
- Applique initials with fabric scraps.
- Sew on buttons or sequins for sparkle.
- Embroider names for a personal touch.
Choose contrasting thread for a pop of color that stands out.
Finishing Touches
Once your Christmas stockings are sewn, it’s time to add the final touches that make them stand out. Careful finishing ensures they look polished and hold up over time. Here’s how to give your stockings the care and attention they deserve in the final stages of creation.
Hemming and Trimming
Neat hemming and trimming are key to a professional-looking stocking. To hem:
- Fold the top edge inside to hide raw edges.
- Pin in place to keep the fold even.
- Sew close to the folded edge for a clean finish.
Trim any loose threads and ensure that the fabric edges are even. If your stocking has a lining, tuck the lining inside and secure it. Trimming also applies to any excess or frayed fabric, ensuring that the stocking maintains a tidy appearance.
Adding Names and Embellishments
Personalizing your stockings adds a special touch. For names and embellishments:
- Use fabric paint to write names neatly.
- Iron-on letters are a quick, easy option.
- Sew on felt to create bold letter shapes.
You can also add decorative items like:
- Stitches around the cuff for accent.
- Small bells or ribbons for a festive jingle.
- Appliques or sequins for sparkle and texture.
Stick to a cohesive color scheme or theme to unify the overall look of your handmade stockings. Remember, less can be more—don’t overcrowd your stocking with too many details.
Adding names or initials not only personalizes each stocking, but it also helps differentiate them, especially in larger families. With these finishing touches, your stockings are now ready for display and to be filled with holiday gifts.
Conclusion and Presentation
Your handmade Christmas stockings are now a reality. From selecting fabrics to the final stitch, you’ve created something truly special. It’s time to celebrate the fruits of your labor and share that holiday cheer.
Displaying Your Handmade Stockings
Once your stockings are complete with quilting and personalized touches, consider the perfect spot to display them. A traditional choice is the mantelpiece above the fireplace, where stockings can hang prominently as a focal point of your holiday decor. If you don’t have a fireplace, any dedicated festive space will do. Arrange them so each one is visible, allowing all the distinct designs to shine. You can use stocking holders or simple adhesive hooks for an easy setup.
Sharing Your Creations
Sharing your handmade stockings can inspire others and spread joy. Take pictures of your finished stockings and send them to friends or family. If you’re active on social media, post the images with a hashtag related to handmade or Christmas stockings to showcase your work. You may also write a blog post detailing your process, offering tips for others interested in this rewarding DIY project. Your creative journey can encourage more people to create their own handmade holiday cheer.
With your custom stockings displayed and shared, they’re not just part of your decor, but a testament to creativity and the warmth of the holiday season. Celebrate your accomplishment and enjoy the magic it adds to your festive celebrations.


